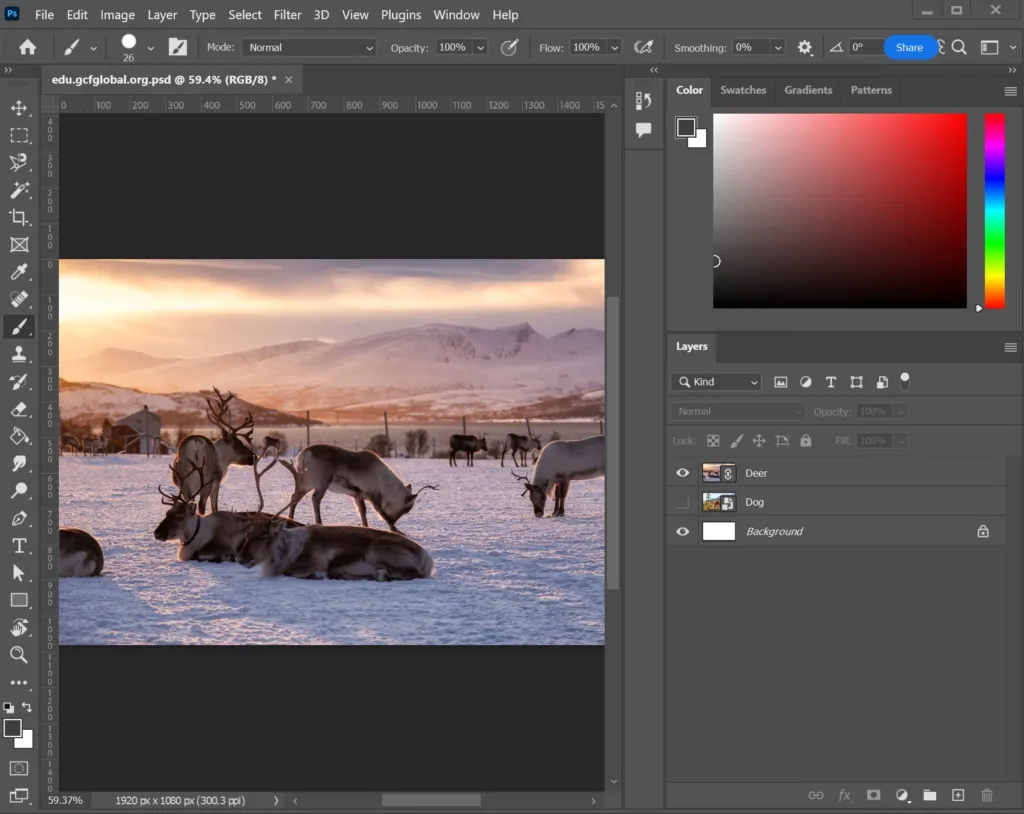
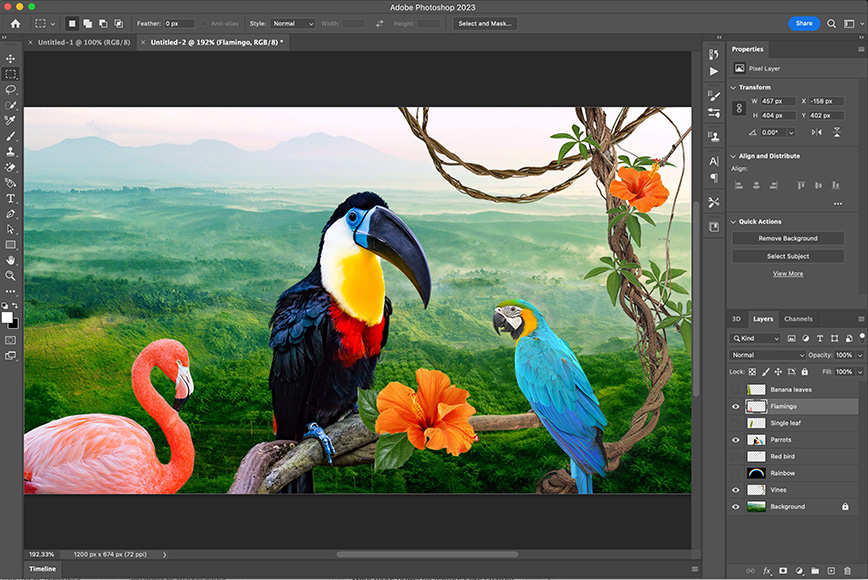
Flattening an image is a common practice in Photoshop that can simplify a complex project by merging all visible layers into a single background layer. This can be useful for reducing file size or preparing an image for printing. However, it’s important to note that flattening an image can also remove transparency, making it appear as thogh the background is solid or white. In this article, we’ll explore how to flatten an image while keeping the transparent background intact.
First, it’s important to understand what transparency is in Photoshop. Transparency refers to areas of an image that are not filled with pixels, allowing the background or layers below to show through. Transparency is often used in graphic design and digital art to create a sense of depth or to blend images seamlessly.
When flattening an image, Photoshop will often fill in transparent areas with white or the background color. This can be problematic if you want to maintain the transparency of the image. Fortunately, there are a few ways to flatten an image while preserving transparency.
One method is to use the “Merge Visible” command instead of “Flatten Image.” This command will merge all visible layers into a single layer, but will not fill in transparent areas. To use this command, select all visible layers in the Layers panel, then right-click and choose “Merge Visible” from the context menu.
Another method is to use the “Save As” command to save a copy of the image with transparency intact. To do this, go to File > Save As and choose a file format that supports transparency, such as PNG or GIF. In the Save As dialog box, make sure the “Transparency” option is selected. This will save the image with all transparent areas intact, even if you have flattened the original image.
You can also use layer masks to preserve transparency when flattening an image. Layer masks allow you to hide or reveal portions of a layer, including transparent areas. To use a layer mask, select the layer you want to flatten, then click the “Add Layer Mask” button at the bottom of the Layers panel. Use the Brush tool to paint black on the layer mask where you want to hide parts of the layer, revealing the transparency below. Once you have masked the layer, you can then flatten the image without losing transparency.
Flattening an image in Photoshop can be a useful technique for simplifying complex projects or preparing images for printing. However, it’s important to be aware of the potential for losing transparency when flattening an image. By using the “Merge Visible” command, saving a copy with transparency intact, or using layer masks, you can flatten an image while preserving transparency.
How Do I Flatten A Transparent Image In Photoshop?
To flatten a transparent image in Photoshop, you need to follow tese steps:
1. Open the transparent image in Photoshop.
2. In the Layers panel, select the layer or layers that you want to flatten.
3. Right-click on the selected layer and choose “Flatten Image” from the context menu.
4. Alternatively, you can go to the top menu and select “Layer” > “Flatten Image” to achieve the same result.
After you have flattened the image, all the layers will merge into one, and the transparency will be removed. It’s worth noting that flattening an image will discard any hidden layers, so it’s important to save a copy of your original file before flattening it. Also, keep in mind that flattening an image is an irreversible process, so make sure to double-check your work before proceeding.

What Happens When You Flatten An Image In Photoshop?
When you flatten an image in Photoshop, all visible layers are merged into a single layer, which then becoes the background layer. This means that any adjustments made to individual layers will be lost, and the resulting image will be a single, flat layer. Flattening an image can be useful for reducing file size or simplifying the editing process, but it should be done with caution, as it cannot be undone and may result in loss of detail or quality if not done correctly. Additionally, any transparency in the image will be removed when flattened, so it is important to make a copy of the original image before flattening if transparency needs to be preserved. Here are some more specific things that happen when you flatten an image in Photoshop:
– All visible layers are merged into a single layer.
– The resulting layer becomes the background layer, with a locked transparency.
– Any adjustments made to individual layers will be lost.
– Any layer masks or vector masks will be discarded.
– Any layer styles or blending modes will be applied to the flattened image.
– Any transparency in the image will be removed.
– The resulting file size may be smaller than the original due to the reduction in layers.
What Happens If You Dont Flatten Image In Photoshop?
If you don’t flatten the image in Photoshop before saving or printing it, the file will retain its layers, which can result in a few potential problems:
1. Large File Size: Layers take up more space in a file, so you may end up with a larger file size than necessary. This could caue issues when trying to share or store the file, as well as when printing.
2. Potential for Editing Mistakes: If you don’t flatten the image and someone else opens it in Photoshop, they may accidentally move or edit a layer without realizing it. This can lead to mistakes or miscommunications in collaborative projects.
3. Printing Issues: When printing an image with layers, the printer has to process each layer separately. This can slow down the printing process and potentially cause errors or distortions in the final print.
Flattening the image before saving or printing it is a good practice to ensure that the file is optimized for sharing, editing, and printing.
What Happens When You Flatten Image In The Layers Box?
When you flatten an image in the layers box in Photoshop, all visible layers are merged into a single background layer. This means that any effects, filters, or adjustments applied to individual layers will be permanently applied to the entire image. The resulting flattened image will have a smaller file size compared to the original layered image, making it easier to share, upload, or print. However, it is important to note that once an image is flattened, you cnnot edit or modify individual layers anymore. Therefore, it is recommended to keep a copy of the original layered file in case you need to make further adjustments in the future.

Conclusion
Flattening an image in Photoshop is a usefl technique for simplifying a complex project or reducing file size. It involves merging all visible layers into a single background layer. While flattening an image is not necessary for exporting, it is recommended for printing to reduce the file size and make the image faster to print. It’s important to note that flattening an image is a permanent change, so it’s always a good idea to save a copy of the original file before flattening. understanding how to flatten images in Photoshop is an important skill for any designer or photographer looking to streamline their workflow and optimize their files for printing or online use.
