GIMP is one of the most popular free photo and graphics editing programs, and it offers a great selection of tools and features. But did you know that GIMP can also use Adobe Photoshop brushes (.abr files)? That’s right – with the proper setup, you can use your favorite Photoshop brushes in GIMP! In this blog post, we’ll show you how to get started using your .abr files with GIMP.
First, let’s talk about how to install .abr files in GIMP. On Windows, go to ‘C:\Users\[Your username]\AppData\Roaming\GIMP\brushes’ and paste the brush file there. On Mac OS X, right-click on the GIMP application and select ‘Show Package Contents’ in Finder. Then, go to ‘Contents > Resources > Brushes’ and paste your brush file there. And on Linux systems, press Ctrl+H in your home folder to see hidden files. Then find the ‘Brushes’ folder and paste your brush file there.
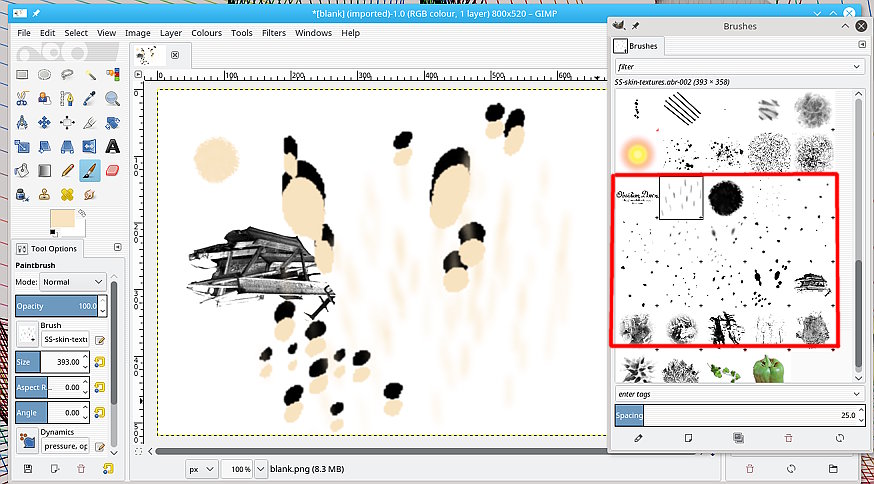
Once you have installed your .abr brush file into GIMP, you should be able to find it in the Brushes palette. Click on the dropdown arrow next to the current brush selector (the circle icon) and select ‘Import Brush…’ from the bottom of the list. You should then be able to browse for your .abr brush file in any folder on your computer – simply select it and click ‘Open’ to import it into GIMP!
Now that we have discussed installing brushes for GIMP, let’s talk about where you can find free custom brushes for GIMP online! There are plenty of websites that offer free custom brushes for download – just make sure they are compatible with GIMP before downloading them! Some popular sites include DeviantArt, Brusheezy, MyPhotoshopBrushes, BrushKing and Creative Market – all of whih have a wide variety of high quality brushes available for free download!
We hope this blog post has been helpful in showing you how easy it is to install brushes for GIMP as well as providing some useful resources for finding free custom brushes online. Happy editing!
Importing Brushes into GIMP
Yes, you can import brushes into GIMP! All you need is to find the folder location for your brushes and place them inside. You can find free custom brushes online that are specifically designed for GIMP. Once you have downloaded the brushes, installing them is easy on Windows, Mac, and Linux computers.
On Windows: First, open GIMP and go to Edit > Preferences. From there, click on Folders > Brushes > Add. Select the folder with your newly downloaded brush files and click OK. Reload GIMP so that the newly installed brushes will apear in the Brushes window.
On Mac: Open GIMP and go to GIMP > Preferences. From there, click on Folders > Brushes > Add Folder. Find the folder where you saved your new brush files and click OK. Reload GIMP so that the newly installed brushes will appear in the Brushes window.
On Linux: Open a terminal window and navigate to your home directory where you have stored your brush files (e.g., /home/username/brushes). Then type ‘cp -r *.gbr ~/Gimp/brushes/’ without quotes to copy all of your brush files into the correct directory. Finally, reload GIMP so that the newly installed brushes will appear in the Brushes window.
Now that you know how to install custom brushes in GIMP, you can enjoy creating unique artwork with a variety of new tools!
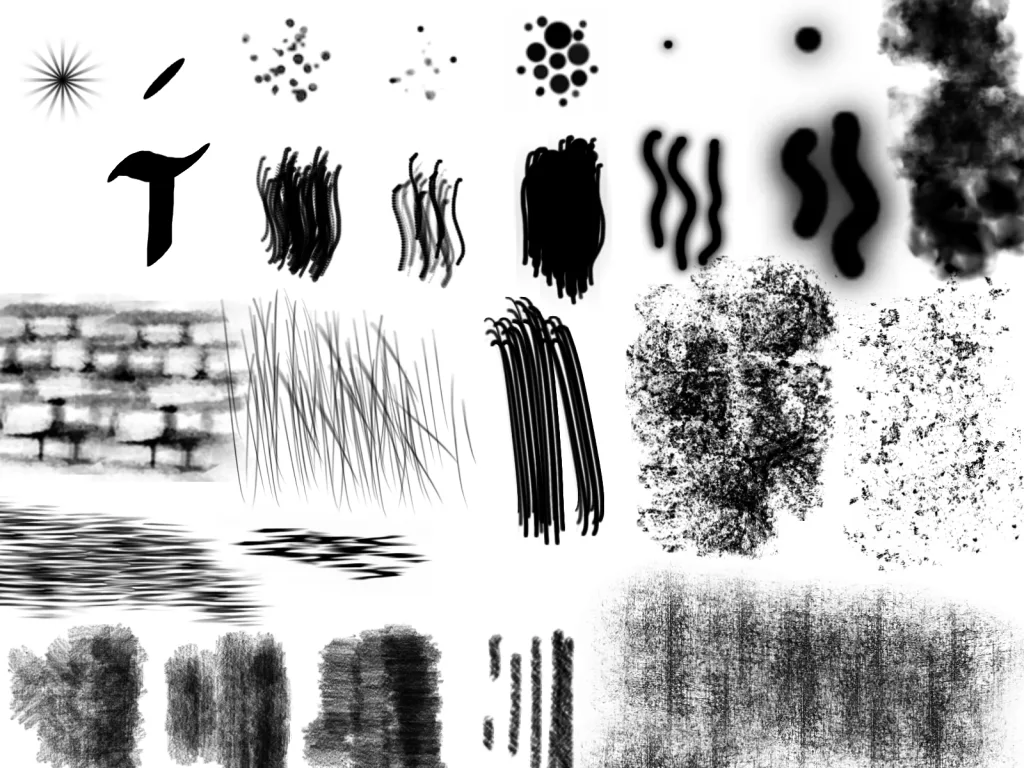
Using Brushes in GIMP
GIMP uses two types of brushes: parametric (.vbr) and raster (.gbr, .gih). Parametric brushes are designed to be customizable and can be adjusted using numerical values. These brushes use mathematical equations to generate the brush shape, which gives them a smooth and consistent appearance. Raster brushes are bitmap images with a fixed shape that cannot be altered. Raster brushes often produce more natural-looking brush strokes, but lack the flexibility of parametric brushes.
Downloading Photoshop Brushes to GIMP
For Windows users, you’ll need to first navigate to your C: drive and open the Users folder. Select your name from the list and then enable viewing of hidden items in the View tab. From there, locate the App Data folder and open it. Within the GIMP folder, you’ll find a Brushes folder where you can paste your Photoshop Brushes file.
Mac users will need to right-click on the GIMP app icon and select “Show Package Contents”. Open up the Brushes folder witin and paste your Photoshop Brushes file there.
Linux users will need to press Ctrl+h in their Home folder to view hidden files, then locate the Brushes folder and paste your Photoshop Brushes file there. Once complete, you should be able to use these brushes in GIMP!
Can Procreate Open ABR Brushes?
Yes, Procreate can open ABR brushes. To do so, simply tap the ABR file online or in an email and you will be prompted to import the brush into Procreate. The imported brush will appear in a special folder called “Imported” located at the bottom of your Brush Library. From there, you can start using the brush immediately in your art projects!
Importing ABR Brushes Into GIMP
Importing ABR brushes into GIMP is a simple process. First, make sure to download the ABR brush file from a reliable source and save it to your computer. Next, open GIMP and go to ‘Edit’ in the top menu bar. Select ‘Preferences’ from the drop-down menu and select ‘Folders’ on the left side of the window. Under ‘Brushes’ click on the folder icon to select your downloaded brush file. Finally, restart GIMP for the changes to take effect, and you should be able to find your new ABR brush in the Brushes Toolbox!
Is GIMP As Powerful As Photoshop?
No, GIMP is not as powerful as Photoshop when it comes to detailed, complex edits. While GIMP does have a layers system that works similarly to Photoshop, Photoshop has an advantage in its non-destructive editing capabilities. Non-destructive editing allows for greater flexibility and control over the editing process, enabling more precise and intricate alterations without damaging or permanently changing the original image. Therefore, even though GIMP is a powerful and capable photo editor on its own, it can’t quite match up to the power of Photoshop’s non-destructive editing abilities when it comes to advanced edits.
Using GIMP Professionally
Yes, you can use GIMP as a professional. GIMP is a powerful and versatile image editing software that can be used for both amateur and professional purposes. It offers a wide range of features that allow you to create high-quality images, such as layers and masks, color correction tools, cloning tools, selection tools, and more. You can also customize GIMP to your own personal preferences with its extensive plug-in library. With GIMP’s easy-to-learn user interface and extensive support resources, it can be used for everything from basic photo editing to complex illustration work. The possibilities are endless!
Disadvantages of GIMP
The main disadvantage of GIMP is its limited support for image formats. It only supports 8-bit RGB, grayscale, and indexed images, which may be limiting depending on the type of images or artwork you’re working with. Additionally, GIMP’s third-party plugins are not as comprehensive as Photoshop’s. This means it can be difficult to achieve certain effects or use certain tools that are aailable in other software.
GIMP also has trouble handling large images with multiple layers, which can make editing complex projects like digital paintings or complex designs difficult or time consuming. Finally, creating aesthetically pleasing curved shapes and objects can be difficult in GIMP due to its lack of advanced vector tools and features.
Installing Photoshop Plugins in GIMP
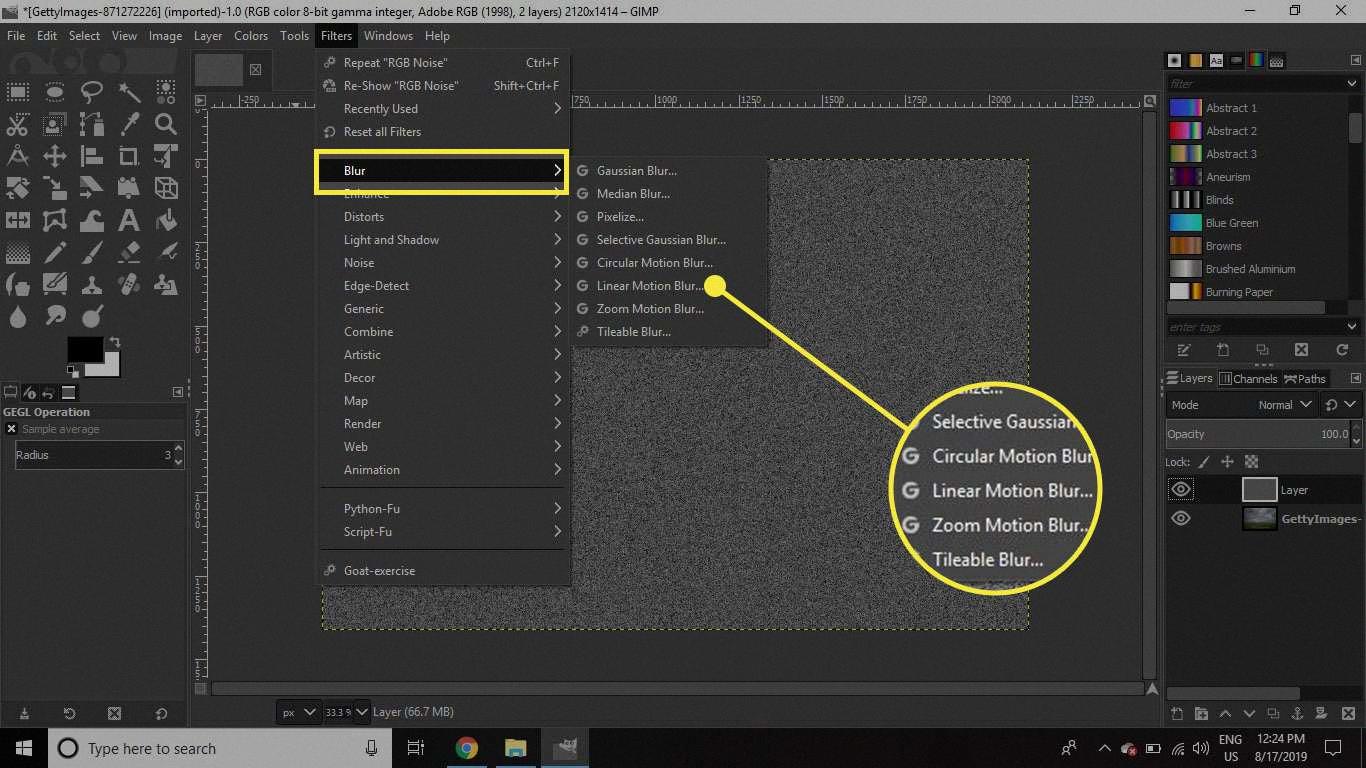
Installing Photoshop plugins in GIMP is a simple process. First, you will need to download the Photoshop Filter Plugin (PSPI) for GIMP. This plugin will allow you to use Photoshop plugins in GIMP. After downloading the PSPI plugin, install it on your computer. Once the plugin is installed, open GIMP and select the “Photoshop Plug-in Settings” option from the Filters menu. Next, download and install any AKVIS plugins you would like to use in GIMP from the official website. After re-opening GIMP, these newly installed AKVIS plugins should appear in the Filters menu for you to use.
Source: lifewire.com
Can GIMP Open Photoshop Files?
Yes, GIMP can import Photoshop files. When you open a Photoshop file in GIMP, it will automatically preserve the layer information from the PSD file. This means that all of your layers, adjustments, and effects will be preserved. Additionally, GIMP allows for further modifications to the file, such as resizing and retouching. To open a Photoshop file in GIMP, you first need to download and install GIMP on your computer.
What is an ABR File?
An ABR file is an Adobe Photoshop brush file used to store a collection of brushes for use in Photoshop. This allws users to create their own sets of custom brushes, which can then be shared with other Photoshop users. An ABR file contains information about the brush type, shape, color and other settings like opacity, spacing and tilt angle. It also stores the individual brush strokes that make up the brush. Once loaded into Photoshop, these brushes can be used just like any other brush type. ABR files are a great way for Photoshop users to share their custom brushes with others.
What is an ABR File?
ABR files, or Photoshop Brush files, can be opened with Adobe Photoshop. Adobe Photoshop is a popular raster graphics editor and is available for Windows and MacOS. If you do not have access to Adobe Photoshop, you can preview the brush with a free tool called abrViewer. Additionally, you can convert ABR files to PNG format with a free tool called abrMate.
Can Krita Use ABR Brushes?
Yes, Krita can use ABR brushes. ABR is a file format developed by Adobe Photoshop to store brushes, and Krita is able to read and load these files without any issues. However, Krita does not support some of the features that Photoshop can utilize with these files. For example, Photoshop can assign brush settings to a specific layer or group of layers, while this feature is not available in Krita. Additionally, the brush dynamics such as pressure sensitivity may also behave differently in Krita compared to Adobe Photoshop.
Source: youtube.com
Is Selling Procreate Brushes Legal?
Yes, it is absolutely legal to sell Procreate brushes. Under the End User License Agreement (EULA) that comes with Procreate, you are free to use and sell any artwork created with Procreate brushes. This includes both original artworks and artwork made using existing Procreate brushes. As long as you have not used any other third-party resources such as stock images, textures or fonts, you are free to monetize your artwork made with Procreate brushes.
Conclusion
In conclusion, GIMP is a powerful and free image editing software that can be used to create stunning works of art. It has an intuitive user interface and provides a wide variety of customizable brushes that can be used to enhance images. Installing brushes for GIMP is easy, as it supports two different types of brushes, parametric (.vbr) and raster (.gbr, .gih). With the help of the internet, you can find plenty of free custom brushes to use in GIMP. Whether you’re a beginner or a professional artist, GIMP is an excellent program for creating beautiful digital art.
