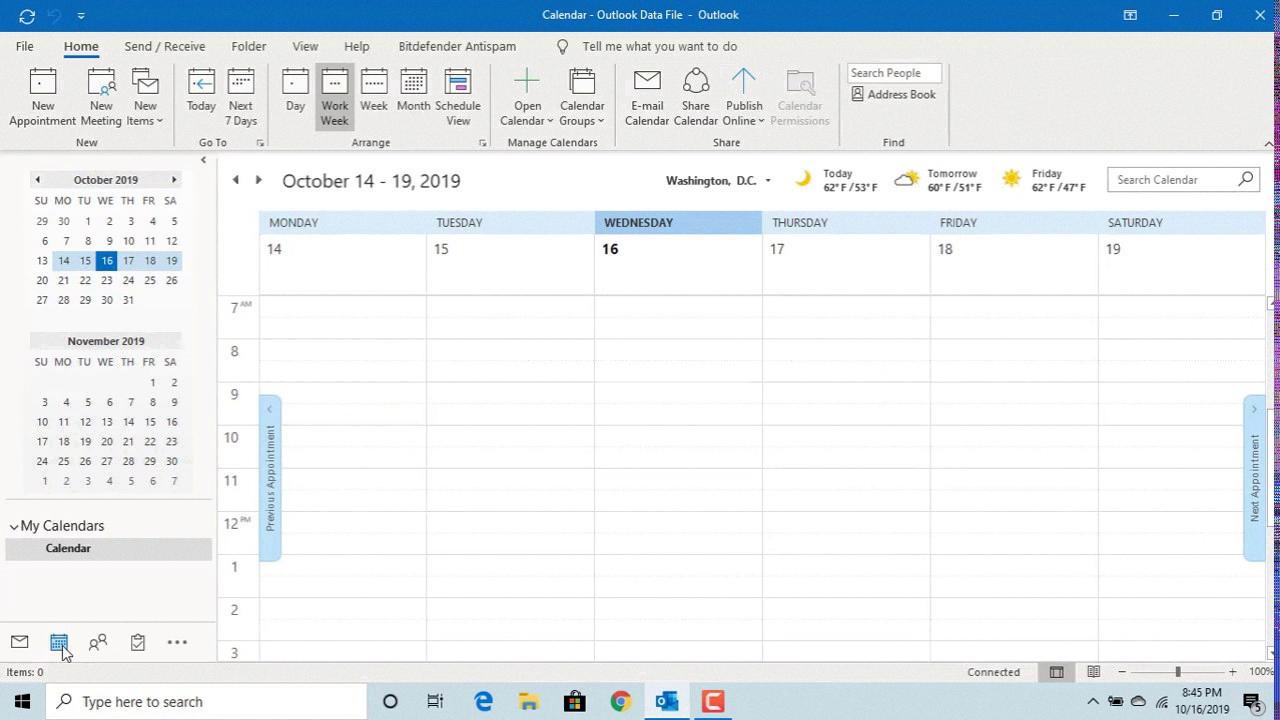
Outlook is a popular email client that is widely used by professionals to manage their emails, appointments, and tasks. One of the most important features of Outlook is the ability to set your working hours. In this article, we will discuss how to set your working hours in Outlook and why it is important to do so.
Setting your working hours in Outlook is a simple process. First, open Outlook Calendar and click on the File tab. From there, select Options and then Calendar. Under the Work time section, you can set the start and end times of your workday. This will ensure that any appointments or meetings scheduled outside of your working hours will be automatically declined.
It is important to set your working hours in Outlook for a number of reasons. First, it ensures that you are not scheduled for appointments or meetings outside of your working hours. This can help you maintain a healthy work-life balance and prevent burnout. Additionally, it helps othes who may want to schedule appointments with you know when you are available.
Another benefit of setting your working hours in Outlook is that it can help you prioritize your tasks. By knowing when your workday starts and ends, you can schedule your tasks accordingly. This can help you be more productive and efficient with your time.
It is worth noting that setting your working hours in Outlook is not a foolproof solution. There may be times when you need to work outside of your normal hours, such as when you have a deadline or are dealing with an urgent issue. In these cases, it is important to communicate with your colleagues and let them know that you will be working outside of your normal hours.
Setting your working hours in Outlook is an important step in managing your time and maintaining a healthy work-life balance. By doing so, you can prioritize your tasks, ensure that you are not overworked, and communicate your availability to others. So, take a few minutes to set your working hours in Outlook today and see the benefits for yourself.
How Do I Set Working Hours In Outlook?
To set your working hours in Outlook, you can follow tese steps:
1. Open Outlook Calendar and click on the File tab at the top left corner.
2. Click on Options, and then select Calendar.
3. Under Work time, you can adjust your work hours by clicking on the Start time and End time lists and selecting the corresponding times that you start and finish work.
4. If you have a different work schedule for each day of the week, you can select the checkbox next to “Set the working hours for different days” and then click on the “Work hours” dropdown menu for each day to set the hours accordingly.
5. You can also set the days that you work by selecting the “Days per week” dropdown menu and selecting the number of days you work.
6. Once you have made your changes, click on the OK button to save them.
By following these steps, you can easily set your working hours in Outlook, which can help you manage your calendar more effectively and avoid scheduling conflicts.

How Do I Set Out Of Office For Non Working Hours In Outlook?
To set out of office for non-working hours in Outlook, you can use the Automatic Replies feature. This feature alows you to create a message that will be automatically sent to anyone who sends you an email during the specified time. To access this feature, go to the File menu and select Automatic Replies. In the Automatic Replies box, select the option to Send automatic replies. From there, you can select the time period during which you will be out of the office and the message you would like to send to your colleagues or teammates. It’s important to note that this feature is only available if you are using a Microsoft Exchange account. Once you have set up your automatic replies, your contacts will be notified of your absence and can adjust their communication accordingly.
Why Is Working Hours Greyed Out In Outlook?
The working hours feature in Outlook may appear greyed out due to several reasons. One possible reason is that the client’s mailbox and Outlook are not configured to the same time zone. In such cases, Outlook may disable the working hours feature to avoid errors in scheduling appointments and meetings.
Another reason could be that the version of Outlook being used is not equipped with the latest elements required by newer versions of Exchange Server. These elements include WeekDays, WeekendDays, and AllDays, which enable users to customize their working hours based on their preferences. If Outlook is unable to recognize these elements, the working hours feature may not be available or may appear greyed out.
To resolve these issues, users can ensure that their mailbox and Outlook are configured to the same time zone. They can also check for any available updates for Outlook and install them to ensure compatibility with the latest Exchange Server elements. By dong so, they can regain access to the working hours feature and customize their schedules accordingly.
Conclusion
Outlook offers users the flexibility to customize ther work hours according to their needs. By adjusting the start and end times of their work day, users can ensure that their calendar accurately reflects their availability and helps them manage their time more efficiently. Additionally, setting up an automatic reply while out of the office can help ensure that colleagues are aware of the user’s absence and can plan accordingly. However, it is important to note that Outlook may not yet support all of the features available in newer versions of Exchange Server, such as WeekDays, WeekendDays, and AllDays. Outlook is a powerful tool for managing one’s work schedule and communicating with colleagues, and its customizable features make it an essential tool for many professionals.
